Table of Contents
This section describes the steps to create a bid.
| Step | Action |
|---|---|
| 1. |
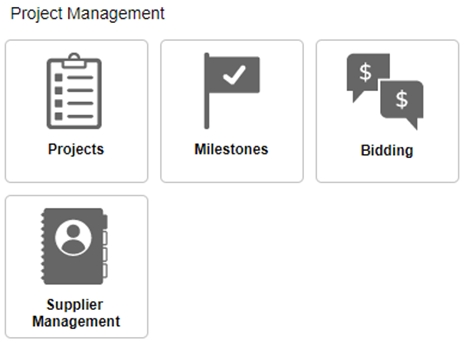
Navigate to Function Dashboard, then click Bidding.
The Bidding page displays. |
| 2. |
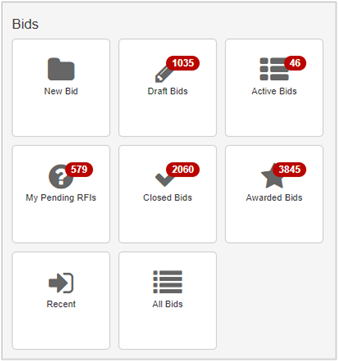
Click New Bid.
|
| 3. |
Click +Add. |
Administration Tab
| Step | Action |
|---|---|
| 1. |
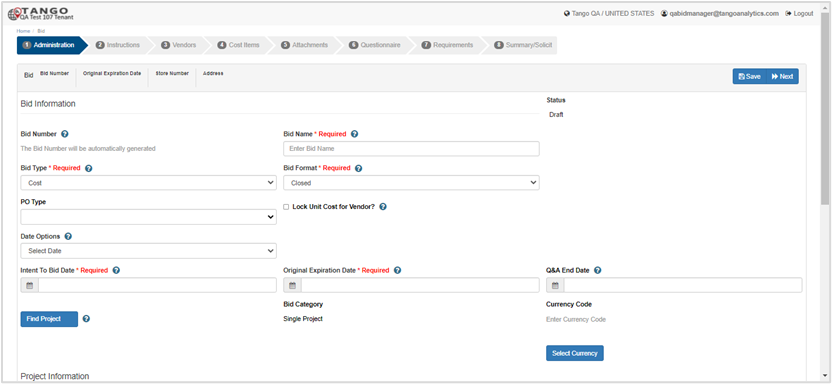
Complete the Administration tab as follows:
|
| 2. |
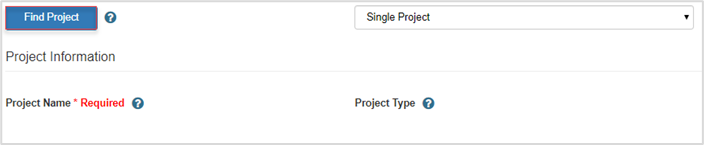
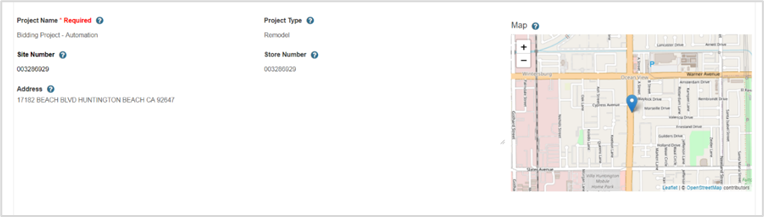
Associate an existing project as follows:
|
| 3. |
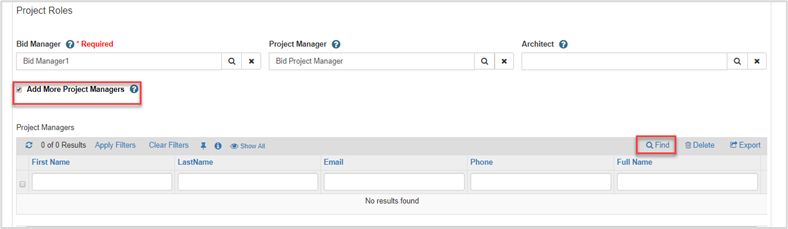
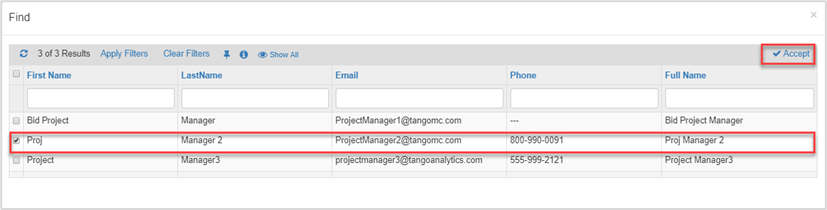
Add one or more project managers as follows:
|





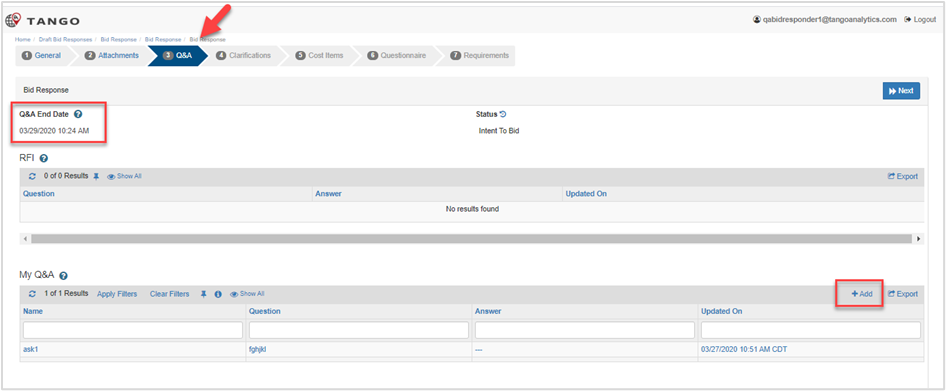
The Bid Manger can change this date (along with the other Bid dates) by clicking the Change Dates button on the Summary tab.
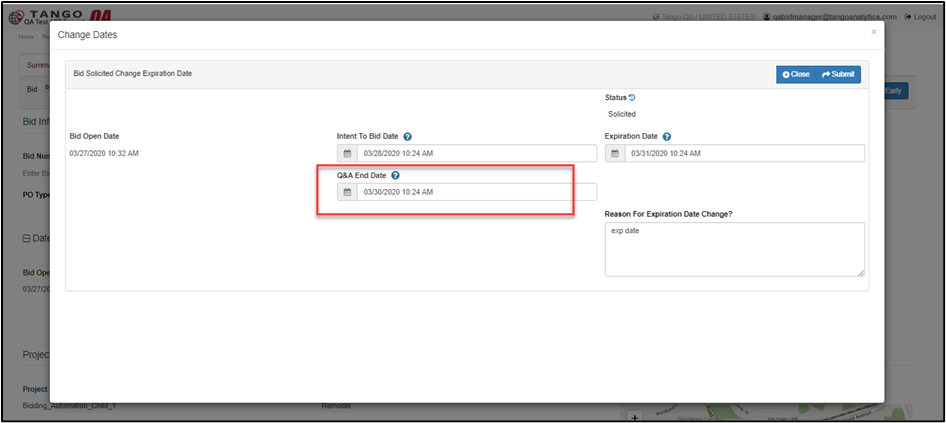
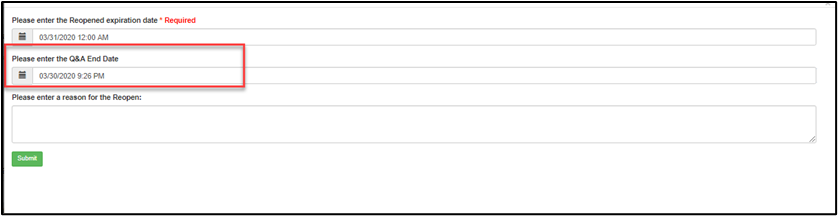
The Bid Manager can also change the Q&A End Date when Reopening a Bid. The Q&A End Date field will now be available along with the Reopened expiration date field on the popup.
Instructions Tab
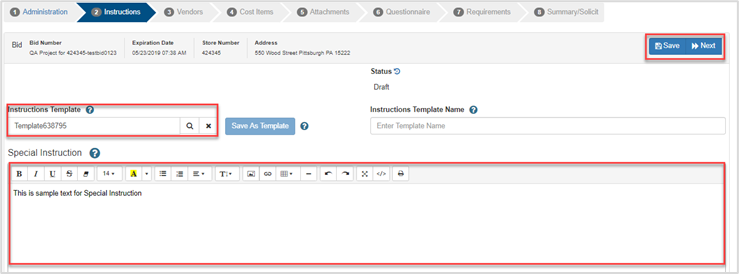
This page is used to create a custom set of instructions that are project specific. This information will be given to the vendor on their main screen once they select a project.
| Step | Action |
|---|---|
| 1. |
Choose a template in the Instruction Template field. Note: Templates must be saved before they are available.
|
| 2. |
Type instructions in the Special Instruction field.
|
| 3. | Click Save, then Next. |

Vendors Tab
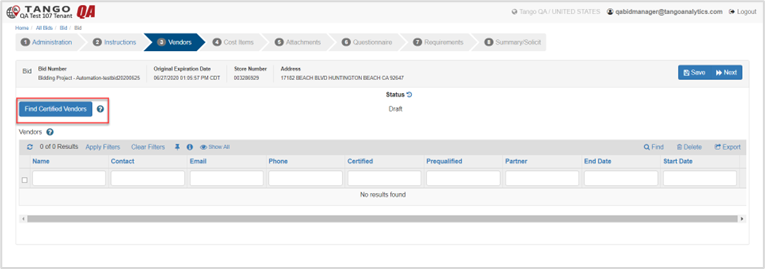
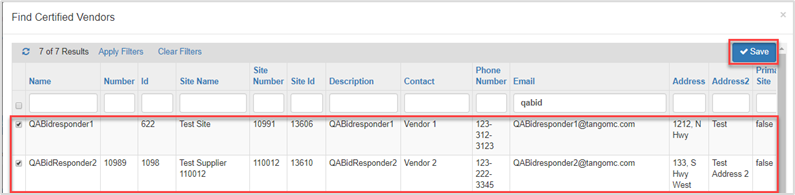
The vendor’s screen is used to find and associate one or more existing Certified Vendor from the Project module. Users can export and delete any vendors from the bid, as applicable.
| Step | Action |
|---|---|
| 1. |
Click Find Certified Vendors.
|
| 2. |
Locate, then check the box(es) in the vendor row.
|
| 3. |
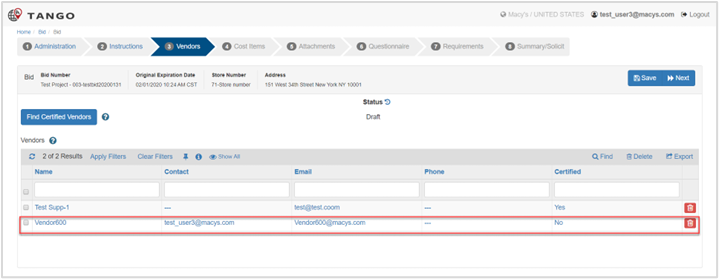
The vendor displays.
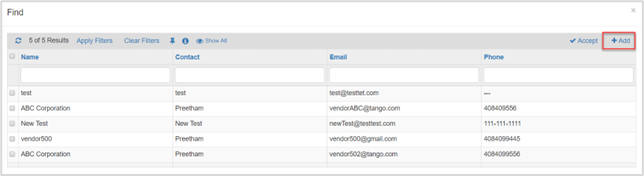
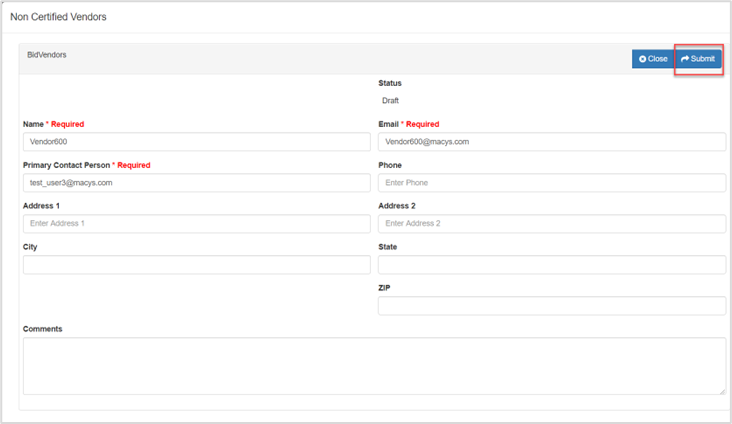
Optional: Add non-certified vendor as follows: Note: Users with correct permissions can perform these steps.
The new vendor displays, and the vendor via email.
|
|---|---|
| 4. |
Click Save, then Next.
|




Vendor Invitation
The vendor follows the registration link to complete the vendor creation process.
The vendor enters their new password for and clicks Register.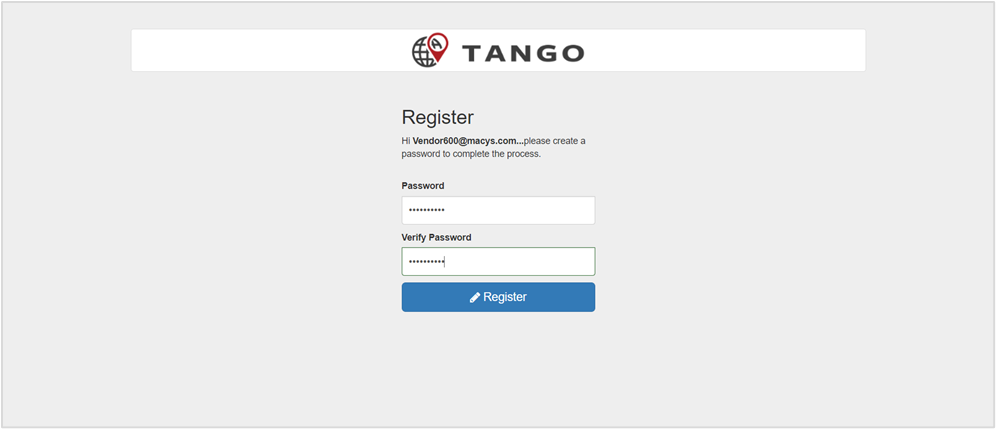
Now the non certified vendor can log in and see the Bid in Draft Bid Response menu item report. 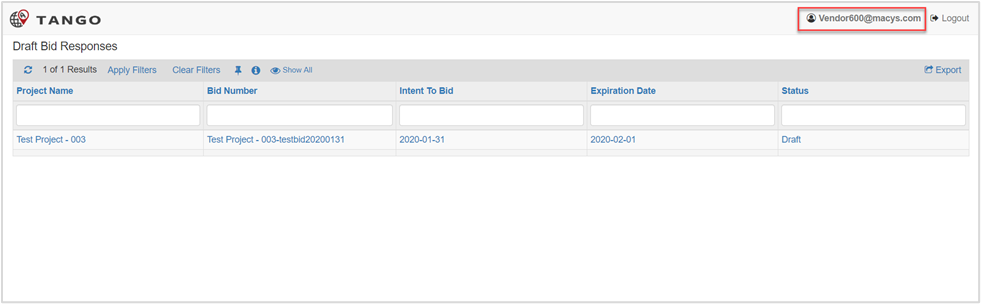
The vendor fills out their bid response and submits it. Then the Bid Manager can award the bid.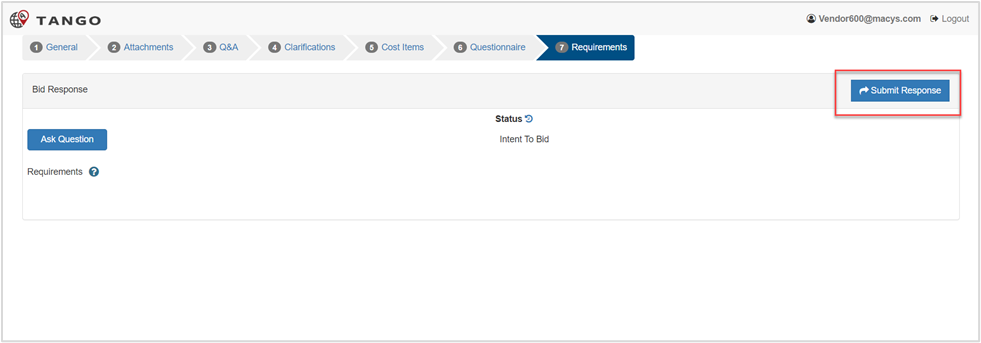
Add a Vendor
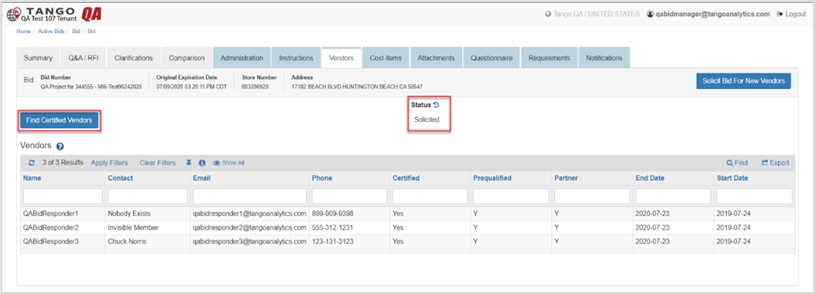
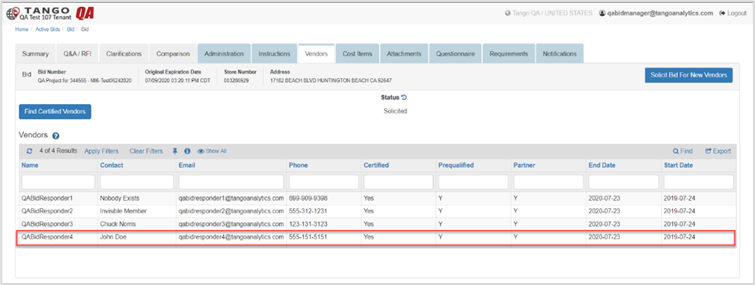
If the Bid Manager wants to add more vendors after the bid is solicited, this can be done by opening the Solicited Bid (notice the record has tabs and is not a wizard view).
| Step | Action |
|---|---|
| 1. |
Navigate to TBD. IMAGE Needed. |
| 2. |
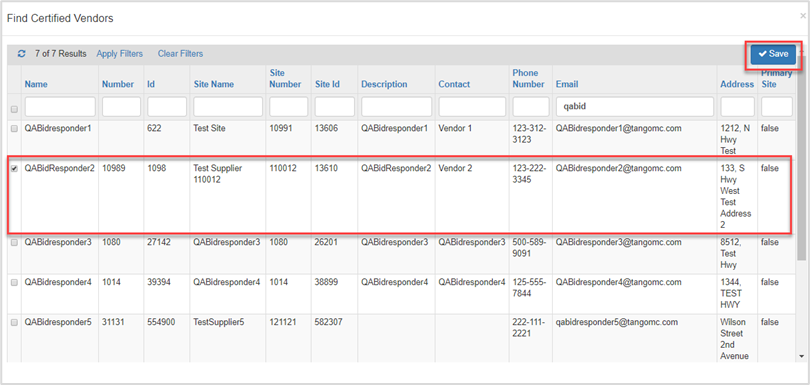
Click the Vendors tab, then click Find Certified Vendors.
|
| 3. | Check the box(es) next to the vendor row. |
| 4. |
Click Save.
|
| 5. |
Click Solicit Bid for New Vendors. The vendor is sent an email invitation.
|
Cost Items Tab
This section describes the steps to add line items to a bid.
Note: Line Items populate from the Projects module.
| Step | Action |
|---|---|
| 1. |
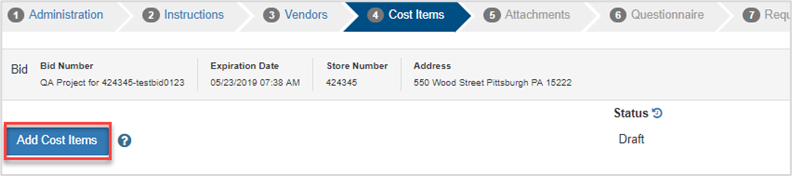
Click Add Cost Items.
|
| 2. |
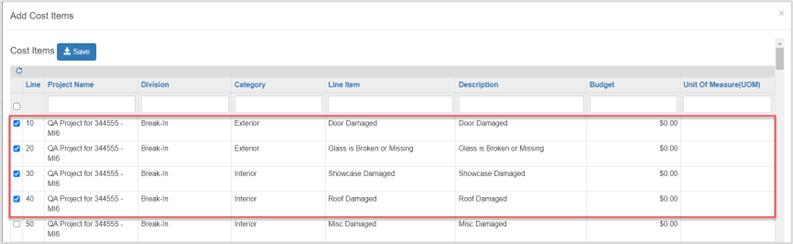
Search the line-item list, else type data in the column fields and press Enter. A list of items display.
|
| 3. |
Check the box(es) next to the line-item rows, then click Save.
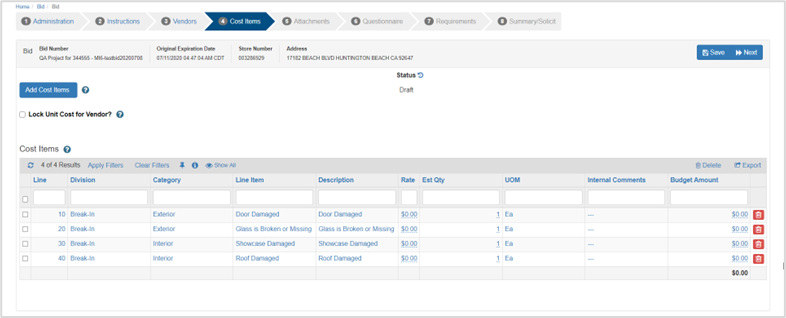
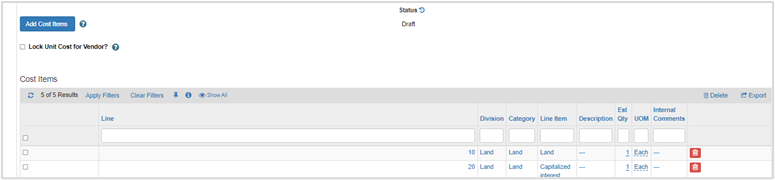
The line-items display in the Cost Items page.
|
| 4. |
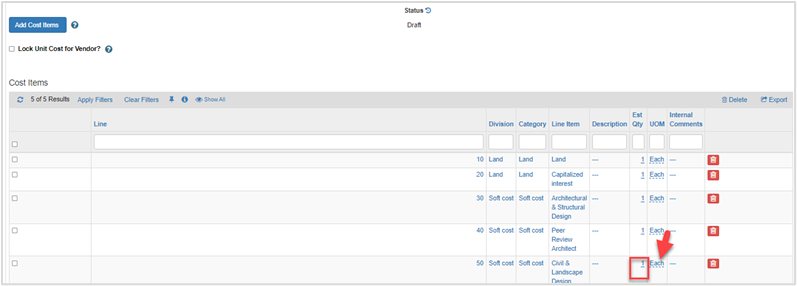
Edit data in each row, as applicable, then click Save.
|
| 5. |
Optional: Click a row, then click Delete.
|
| 6. |
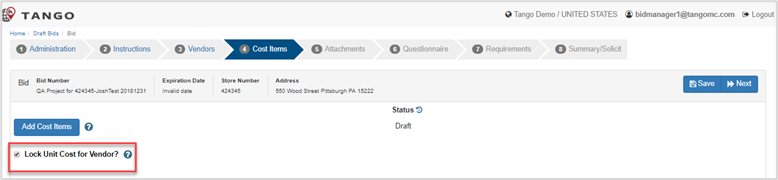
Optional: Check box Lock Unit Cost for Vendor. The cost locks from changes by the vendor.
|
| 7. |
Click Save, then Next.
|


Attachments Tab
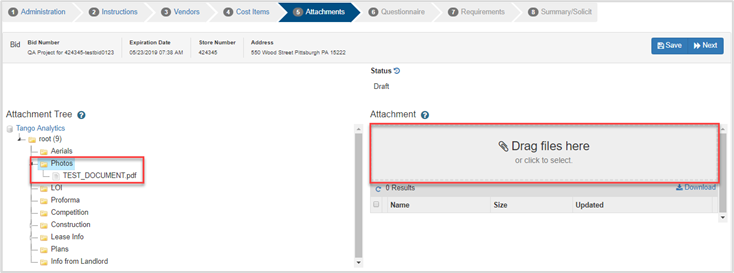
Users can upload new files or associate any existing related documentation from the Project to be sent to the vendor as part of the bid process.
The folder structure is dictated by any documents uploaded in the Project module.
| Step | Action |
|---|---|
| 1. |
Existing Project Files:
|
| 2. |
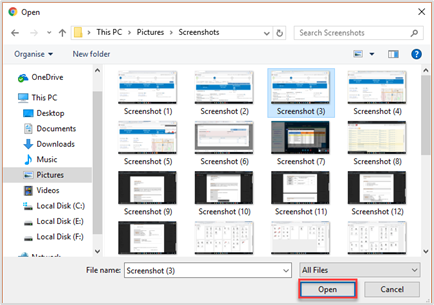
New Project files:
|
| 3. |
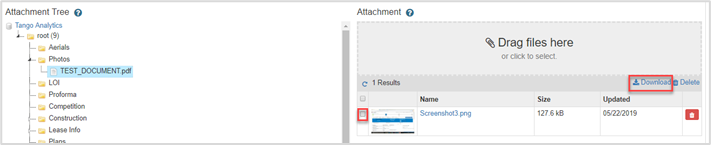
Optional: Check the box next to the document row, then click Download.
|
| 4. |
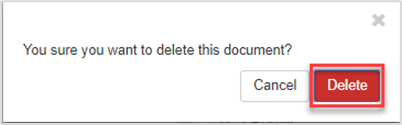
Optional: Check the box next to the document row, then click Delete.
Click Delete on You sure you want to delete this document? pop-up.
Click OK on the pop-up. |
| 5. |
Click Save, then Next.
|


Questionnaire Tab
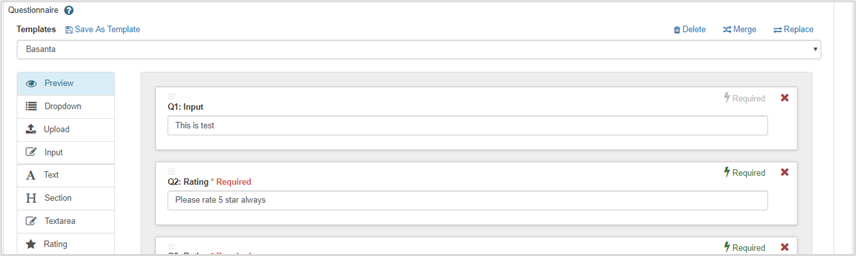
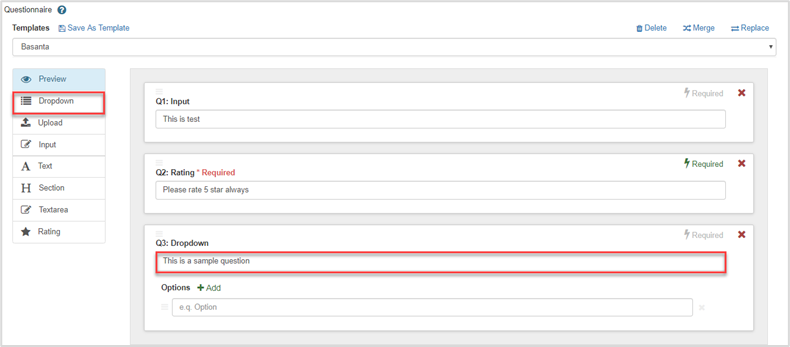
This section describes the steps to apply a questionnaire, create custom questions and create a new questionnaire template.
| Step | Action |
|---|---|
| 1. |
Choose a template in the Templates drop-down, then click Merge.
The Questionnaire displays.
|
| 2. | Repeat Step 1 to add more questionnaire templates, as applicable. |
| 3. |
Click Replace. The questions are replaced by the new template.
|
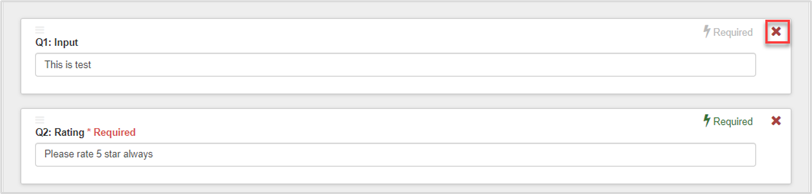
| 4. |
Optional: Click X on a question. The question is removed.
|
| 5. |
Optional:
|
| 6. |
Save new template:
|
| 7. |
Click Save, then Next.
|




Requirements Tab
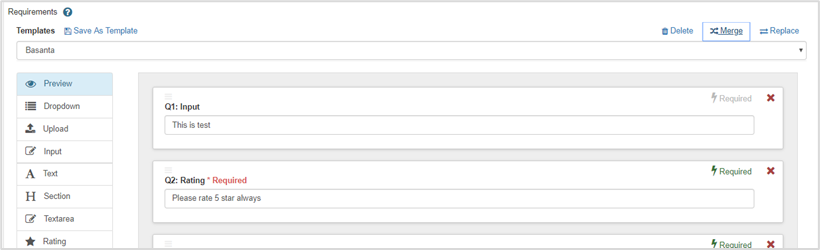
This section describes the steps to apply previously created templates, add ad-hoc and project specific requirements, create multi-template requirements, or create unique templates.
| Step | Action |
|---|---|
| 1. |
Choose a template in the Templates drop-down, then click Merge.
The template displays.
|
| 2. | Repeat Step 1 to add more requirements templates, as applicable. |
| 3. |
Click Replace. The questions are replaced by the new template.
|
| 4. |
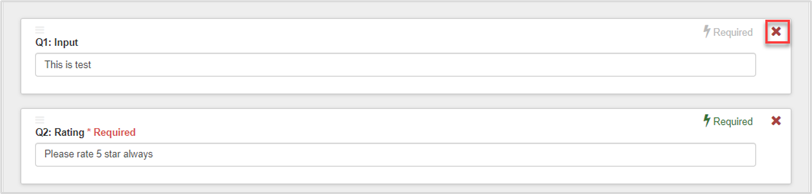
Optional: Click X on a question. The question is removed.
|
| 5. |
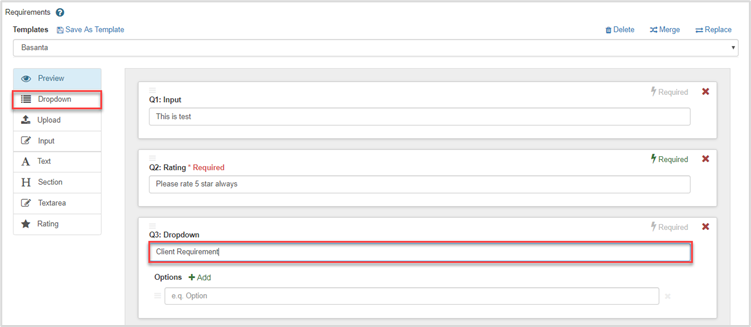
Optional:
|
| 6. |
Save new template:
|
| 7. |
Click Save, then Next.
|




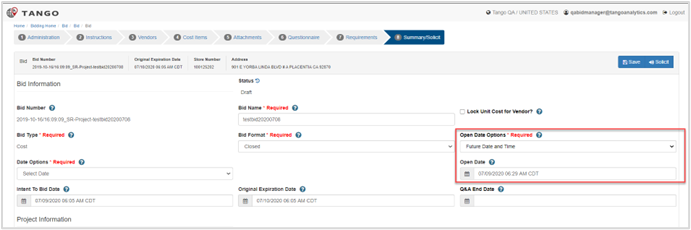
Summary/Solicit Tab
The Summary/Solicit Information screen of the Bid Wizard gives the end user a final overview of the Draft Bid for review.
| Step | Action | ||||||
|---|---|---|---|---|---|---|---|
| 1. | Review the bid is complete and accurate. | ||||||
| 2. |
Edit the following fields as applicable:
|
||||||
| 3. |
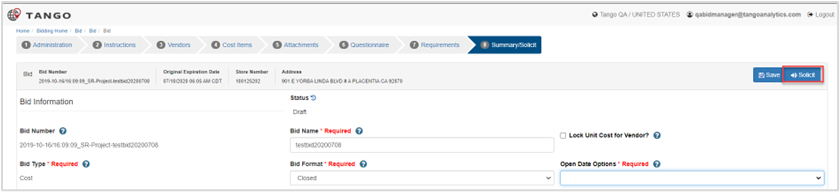
Click Save, as applicable, then click Solicit.
The bid status is set to Solicited. |
||||||
| 4. |
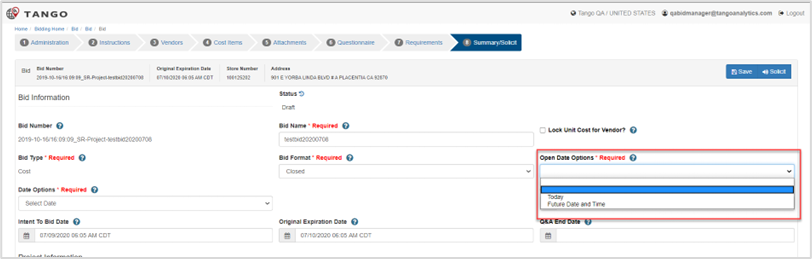
Select date in Open Date Options drop-down. Notes:
|
Was this article helpful?
That’s Great!
Thank you for your feedback
Sorry! We couldn't be helpful
Thank you for your feedback
Feedback sent
We appreciate your effort and will try to fix the article