To run a sales forecast a site record must exist and to create a site record, a target must exist. This section describes the steps to create a site record, a target record, and create a questionnaire.
Step
|
Action
|
1.
|
Navigate to the Function Dashboard, then click Maps.
|
Step
|
Action
|
2.
|
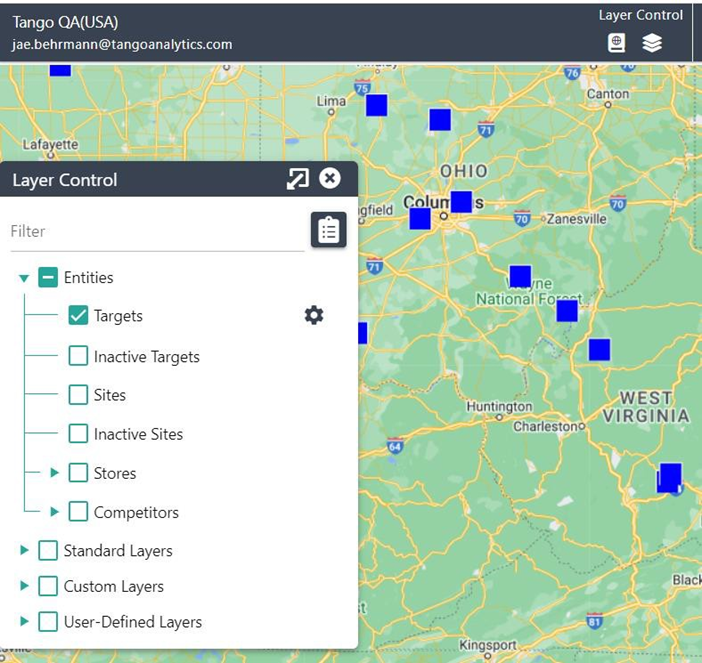
Display the target layer.
|
3.
|
Search for the Target by Name.
|
4.
|
Navigate to the location of the site and zoom.
|
5.
|
Add a target, as applicable.
|
6.
|
Add a Site on the potential center's exact location.
|
7.
|
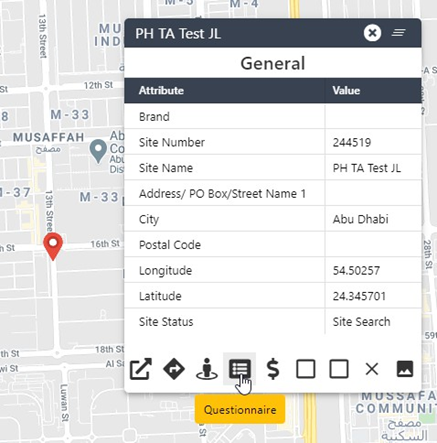
Click the icon to display the pop-up.
|
Click Questionnaire.
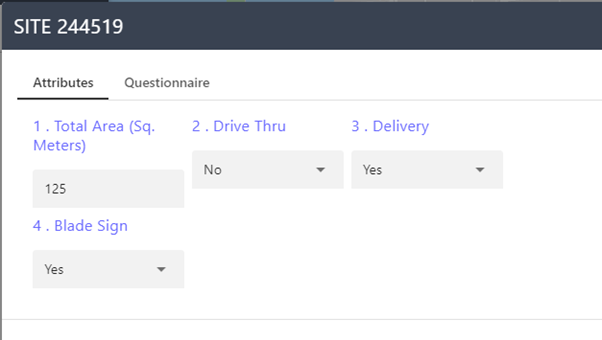
Complete the Attributes tab.
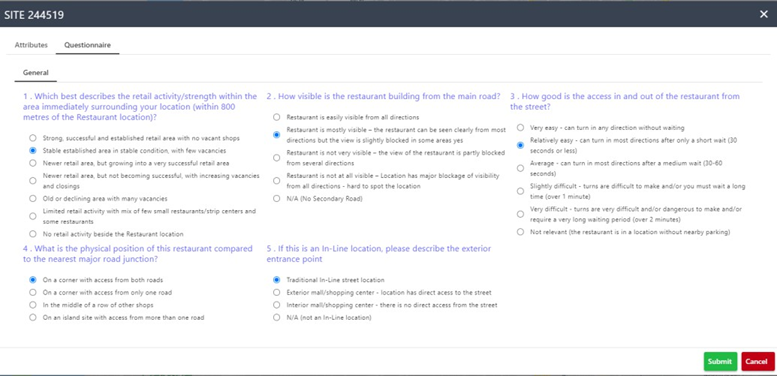
Click the Questionnaire tab, complete all required questions, then click Submit.
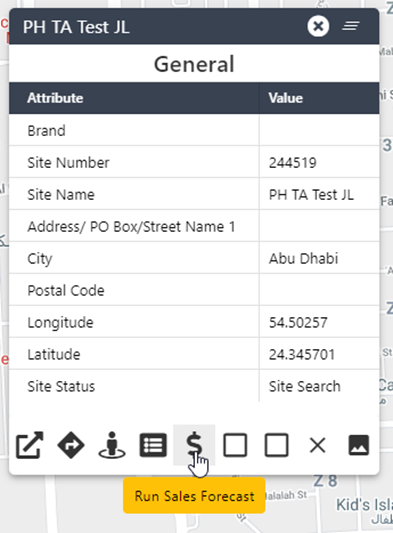
Click Run Sales Forecast.
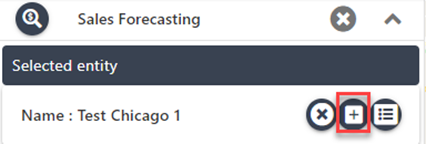
Click the +.
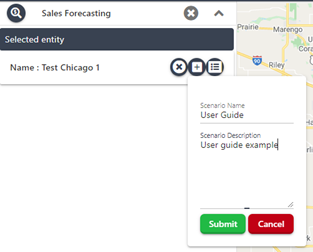
Type the Scenario Name and Description, then click Submit.
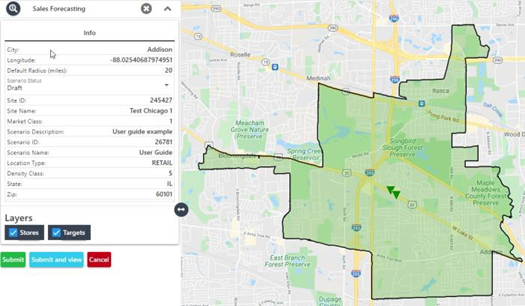
The site trade area displays with the site scenario information.
Step
|
Action
|
14.
|
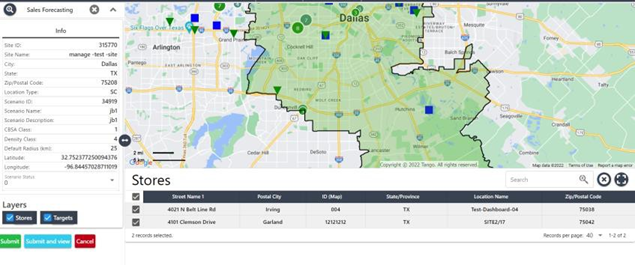
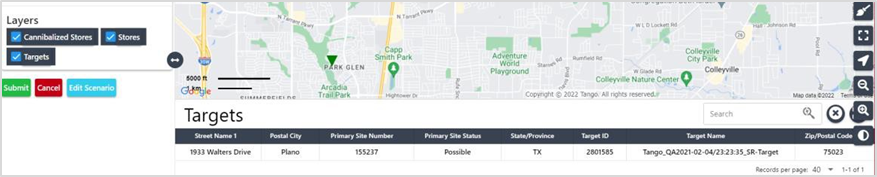
Click Stores and Targets and select/deselect entities to include in forecast.
|
15.
|
Click Submit.
|
16.
|
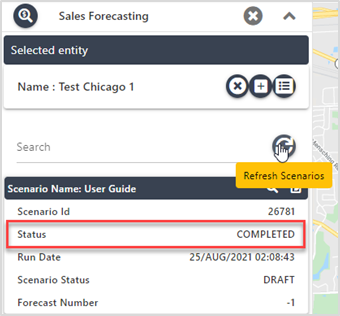
Click Refresh until the status is set to Completed.
|
Step
|
Action
|
17.
|
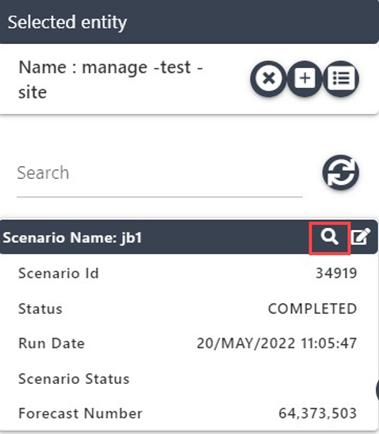
Click the magnifying glass.
The Sales Forecast summary displays.
|
18.
|
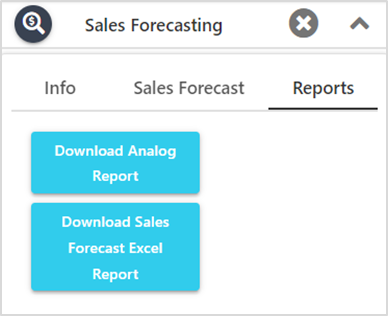
Click Reports tab and click either Download Analog Report or Download Sales Forecast Excel Report.
A PDF or Excel file, respectively, downloads to the local drive.
|
Step
|
Action
|
19.
|
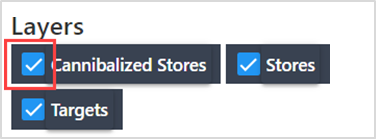
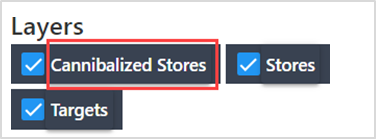
Click Cannibalized Stores and view details of impacted locations.
Note: Clicking the checkmark displays layers on the map.
Clicking the name displays a data table below the map, if available.
|
20.
|
Click Stores and Targets and view entity details.
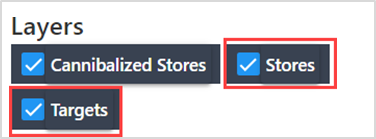
Note: Clicking the checkmark displays data on the map. Clicking the name displays a data table below the map, if available.
|
EXECUTE A FORECAST SCENARIO
An alternate method of running the sales forecast is by accessing the scenario from the Site module.
Step
|
Action
|
1.
|
Navigate to the Function Dashboard and click Sites.
|
2.
|
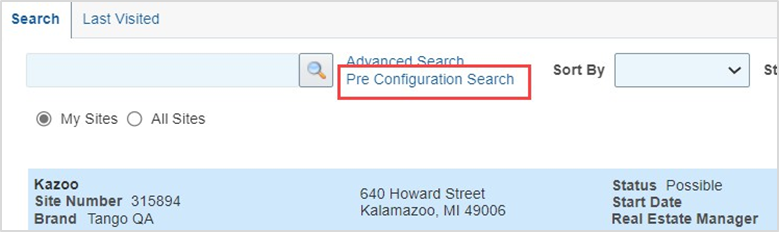
Click Pre-Configuration Search.
|
3.
|
Click Search, then click the magnifying glass on the row.

|
Step Action
Click Sales Forecast.
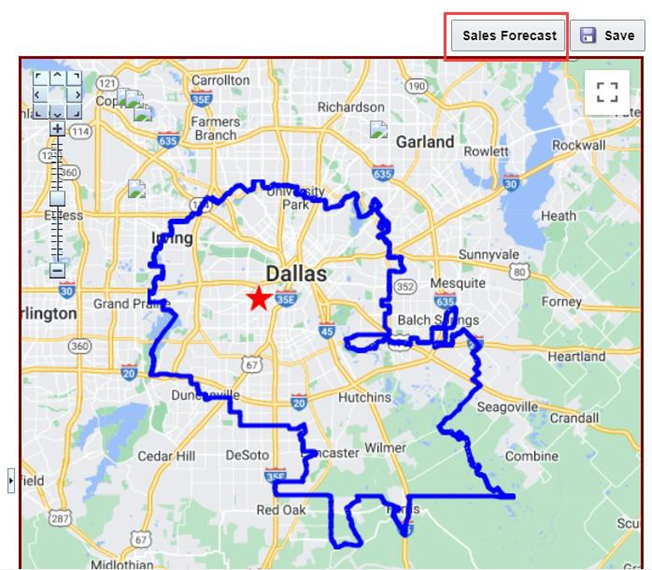
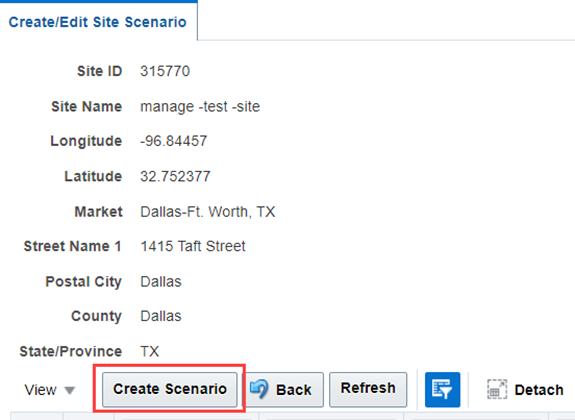
Click Create Scenario.
Step
|
Action
|
6.
|
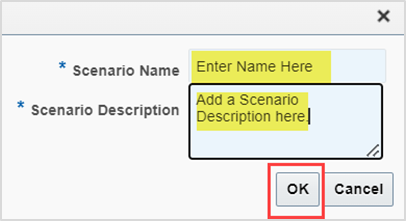
Enter a scenario name and description, then click OK.
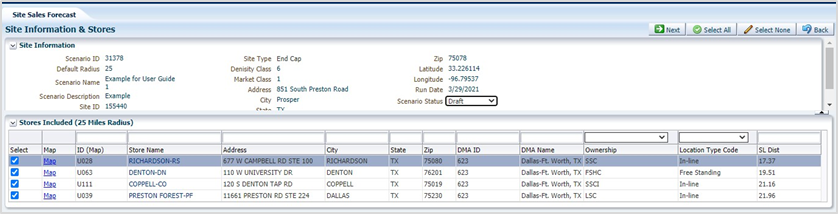
The site Information and Locations page displays.
|
7.
|
Uncheck a row for a location that is scheduled to be closed, as applicable. Click the Next button.
 |
Step
|
Action
|
4.
|
Include sites that are not set to status Approved, perform the following:
Note: When the site was approved, the status is set to Primary and is within the pre-defined area, it displays on this page.
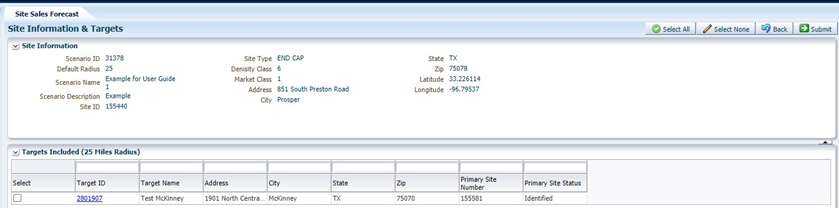
Navigate to that Target/Associated Sites tab. Choose the subject Site and click Set Primary. It is included in the available set. Click Submit to generate a Sales Forecast. Navigate to the Site and change key attributes or questionnaire answers, then click Home or Back.
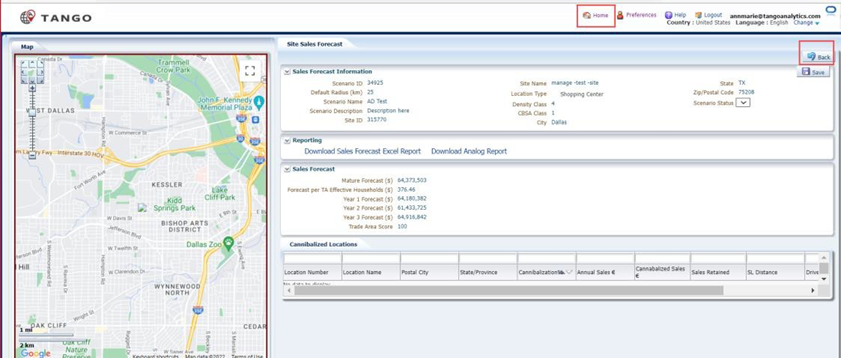
Note: Generating a scenario captures a snapshot of the conditions at creation. Alternative scenarios should be created if you edit the Site Trade Area. You can rerun scenarios, but the conditions (i.e., questionnaire) captured at its creation cannot be changed (only stores/targets included can be changed). For different inputs, create a new scenario.
|
EVALUATE THE FORECAST
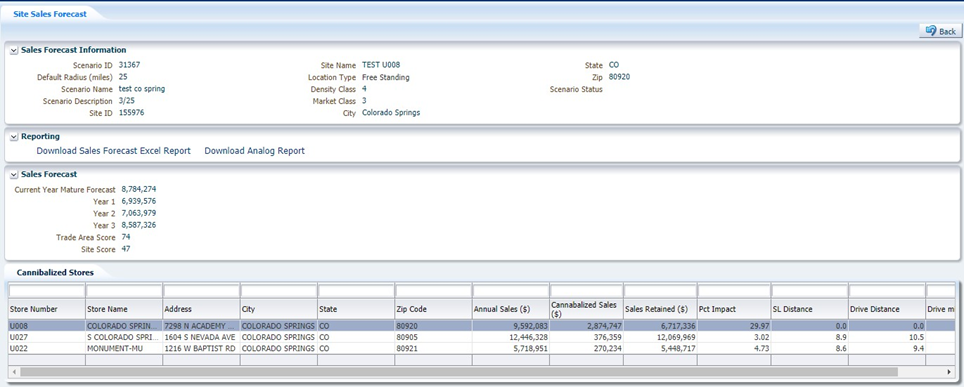
Once a scenario is submitted, the Sales Forecast tab displays. The forecast will take a few moments to complete.
Step
|
Action
|
1.
|
Click Download Sales Forecast Excel Report, else click the Download Analog Report in the Reporting pane.

|
2.
|
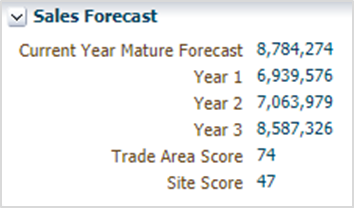
Review the Sales Forecast key highlights in the Sales Forecast pane.
|
Step
|
Action
|
3.
|
Review the Cannibalized Stores pane stores sales history.
Note: Annual Sales data is pulled from the Location (Stores) record. The Sales data is available on the Sales tab of the Location (Store) record.

|